
The Ultimate
Evolution of Masonry
U-Panel is the first real evolution in global masonry construction, since the CMU concrete block patented in 1900.
The low cost, high strength, ease and speed of build is matched by no other. U-Panel, the ultimate modular concrete walling system.


The U-Panel Differnce
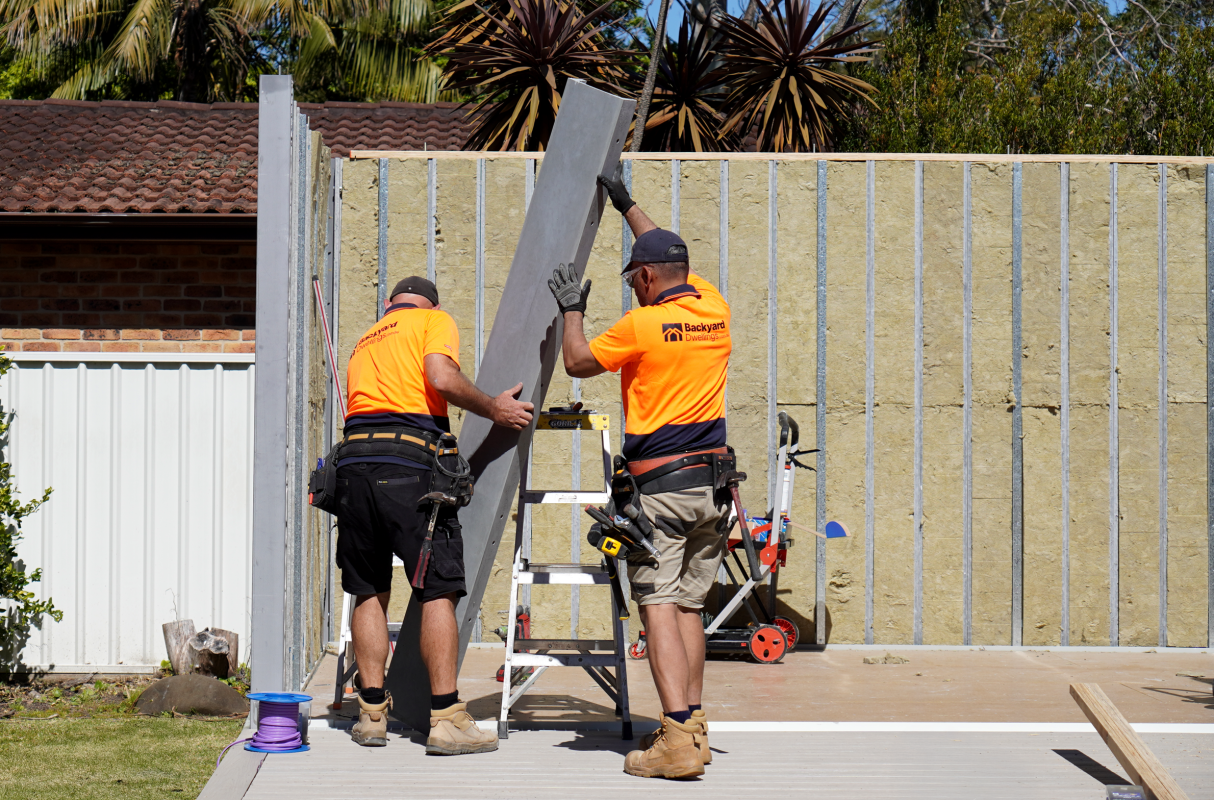
• No need for highly skilled labour for installation
• Speed and ease of installation
• Dry fit system, can be installed in any weather
• No mortar or adhesives
• No wet trades such as bricklayers
• Modular design, no off cuts
• Recycled materials
• Low carbon emissions
• No waste + 100% recyclable
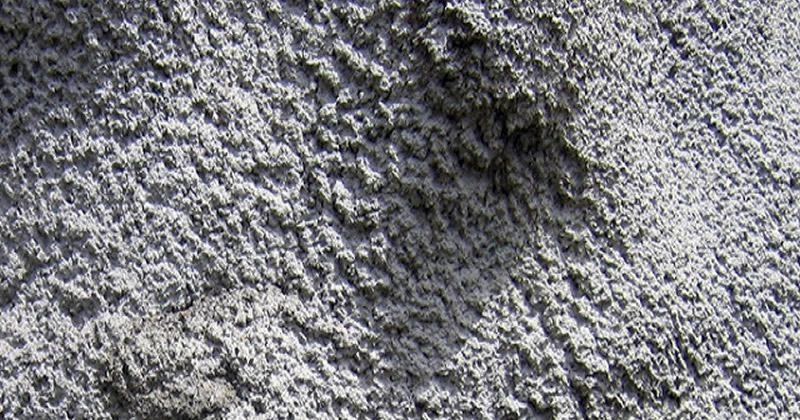
U-CRETE
U-Panel is made from a new innovative concrete mix that reduces C02 emissions into the environment.
U-CRETE has no sand, aggregate or steel. The mix is made from over 50% recycled Fly Ash and develops over 66 Mpa in strength.
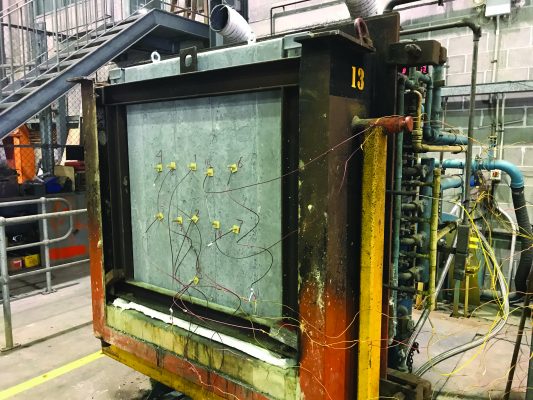

Tested to Australian Standards
• Cyclone rated to category-5 (288 Kph winds)
• Compression test on wall is over 30 tonnes LM
• Water penetration tested and passed (N6/C4)
• Racking tested 5.43kN/m
• Bush Fire Certified
• Compression test on material 66 MPA
• Thermal rating up to R4.0
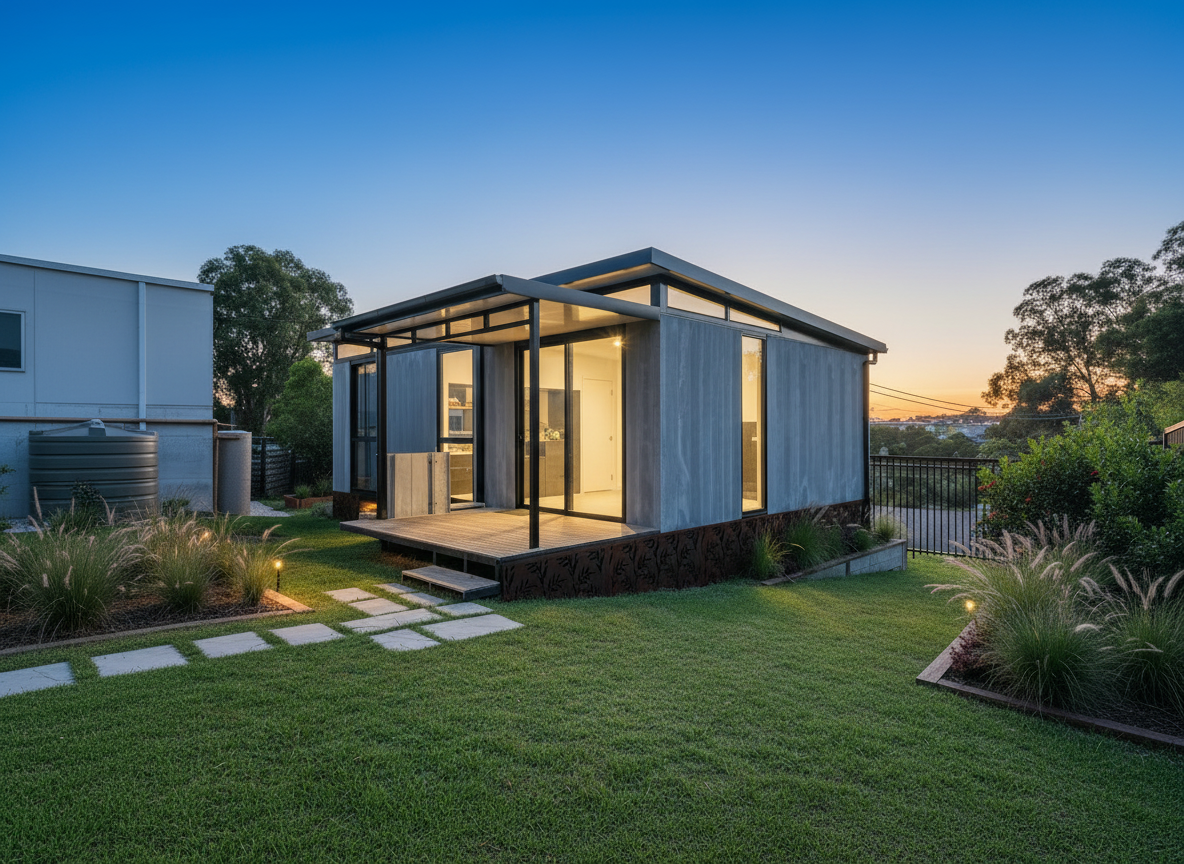
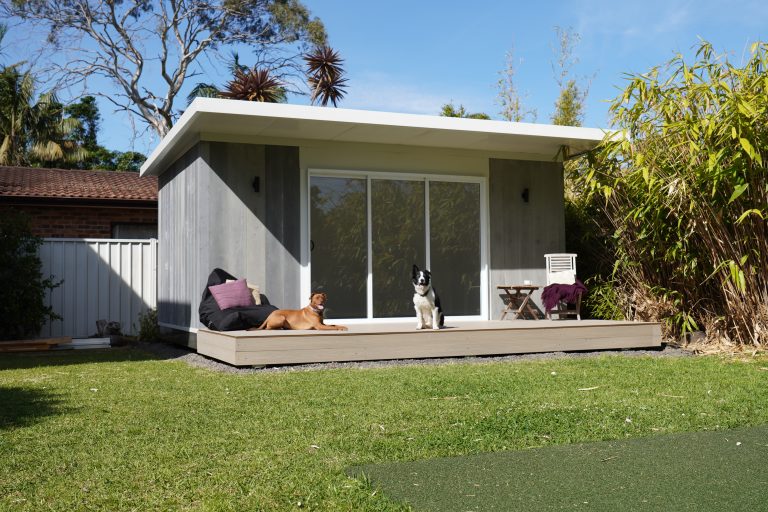
Faster Construction
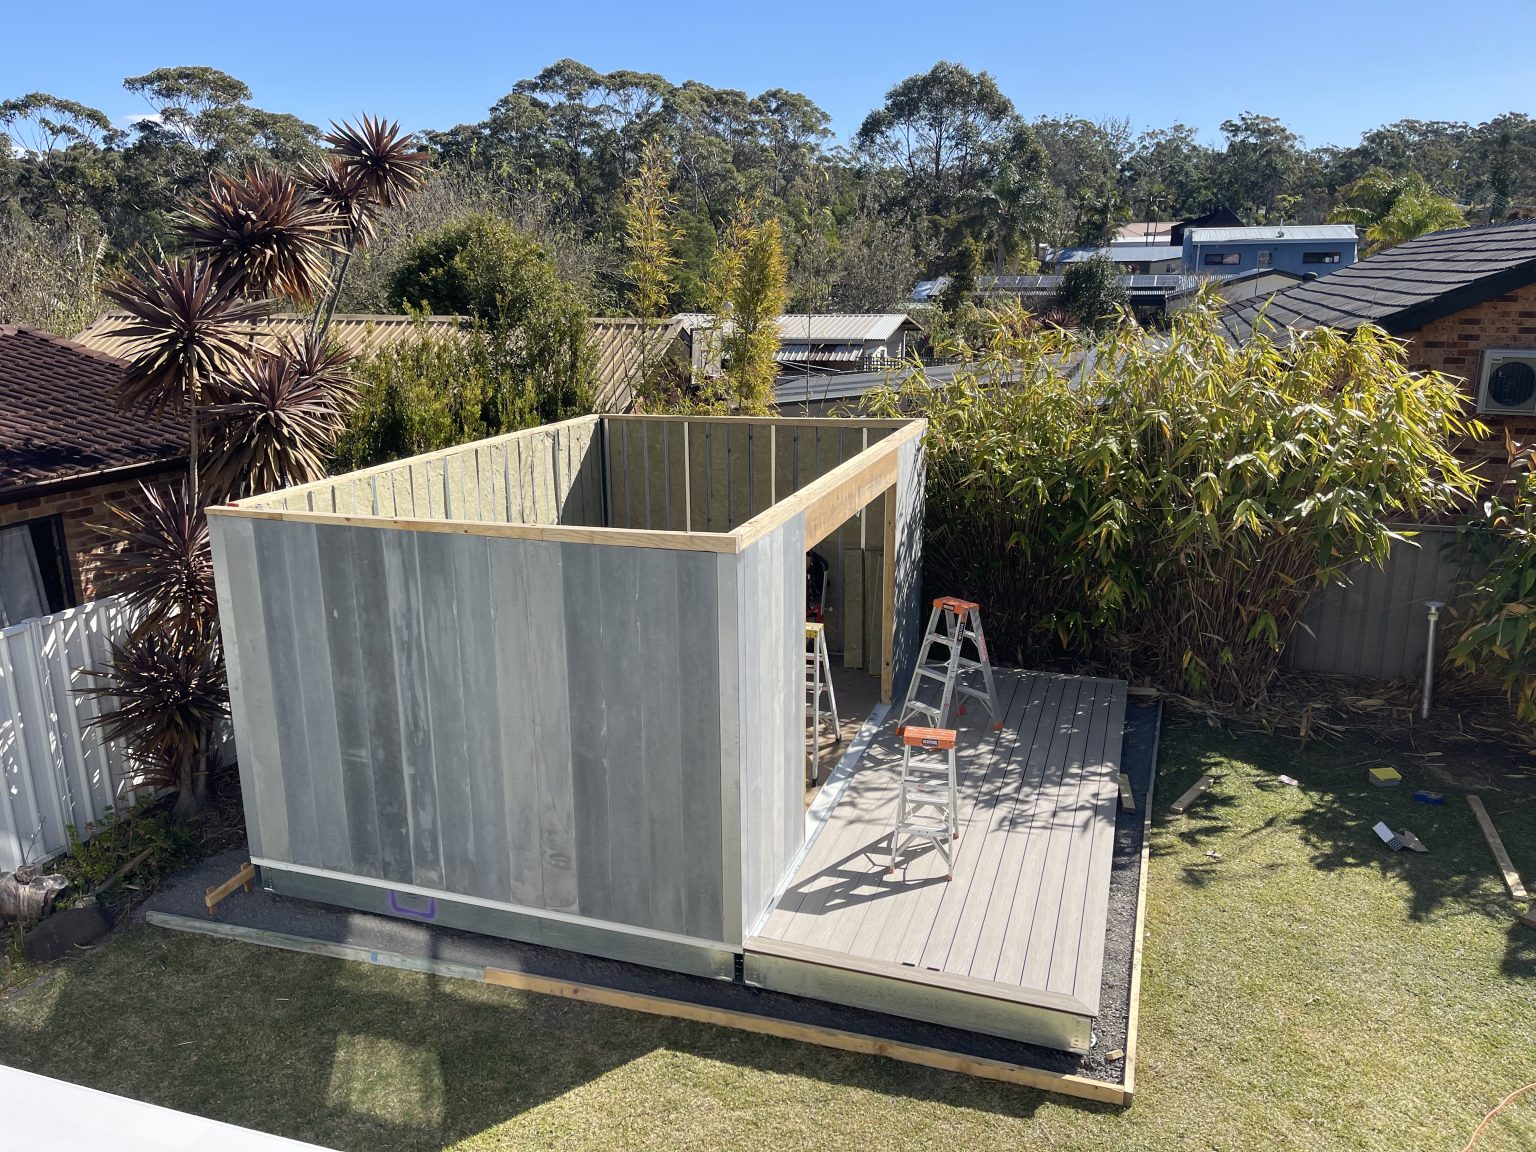
U-Panel homes can be erected quickly, with small studios built in 3–4 days and full homes in a few weeks. Traditional Kit Homes require multiple stages and can take months to complete.
Superior Insulation
U-Panel walls offer up to R 4.0 after bridging + insulation built into the panel, eliminating the need for additional layers. Traditional homes typically offer R2.0–R2.8 insulation, but thermal bridging through studs reduces effectiveness.
Bushfire Resistance
U-Panel walls are made from non-combustible materials and are suitable for BAL-FZ (Bushfire Attack Level – Flame Zone) without additional cladding. Traditional homes require special treatments and materials to meet bushfire safety standards.
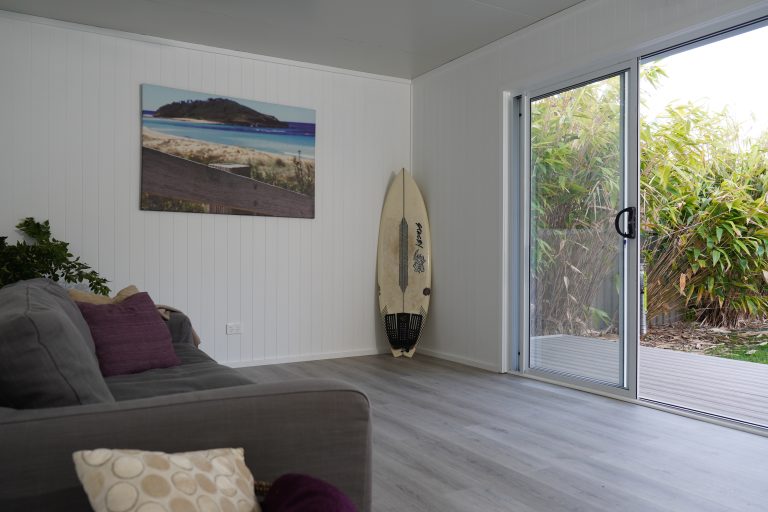
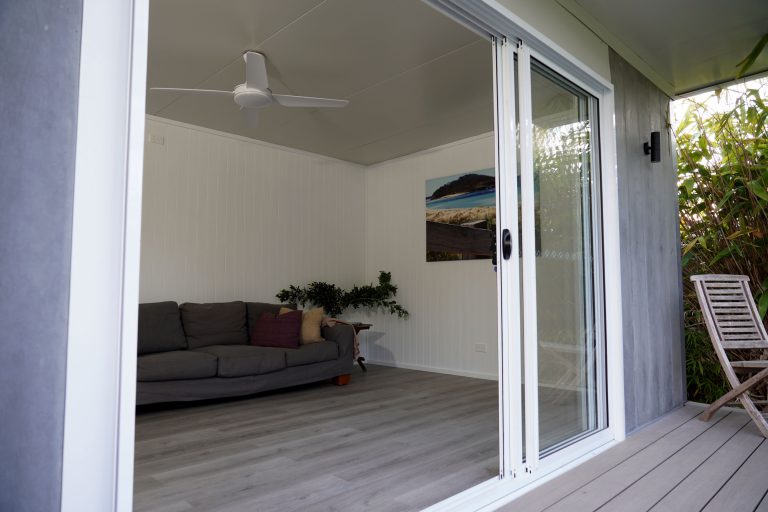
Low Maintenance
U-Panel homes feature pre-finished surfaces inside and out, requiring no painting or sealing. Traditional homes need regular maintenance, including painting and sealing.
Cost Efficiency
U-Panel homes are cost-effective due to their all-in-one panel system, DIY-friendly assembly, and faster build times. Traditional homes involve higher material and labour costs, longer construction periods, and additional compliance expenses.
The U-Panel Wall System in Detail
The system is constructed as shown in this diagram from;
- U-Panel recycled concrete walls (external)
- Rockwool Insulation
- Reflective Vapour Sheet
- Top Hat Bracket
- Top Hat Section
- Wall Board

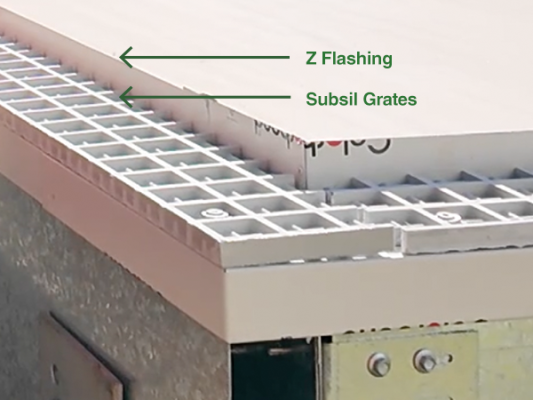
STEP 1
Lay termite guard strips with termiguard silicon under.
Then lay Z flashings.
Followed by subsil grates.
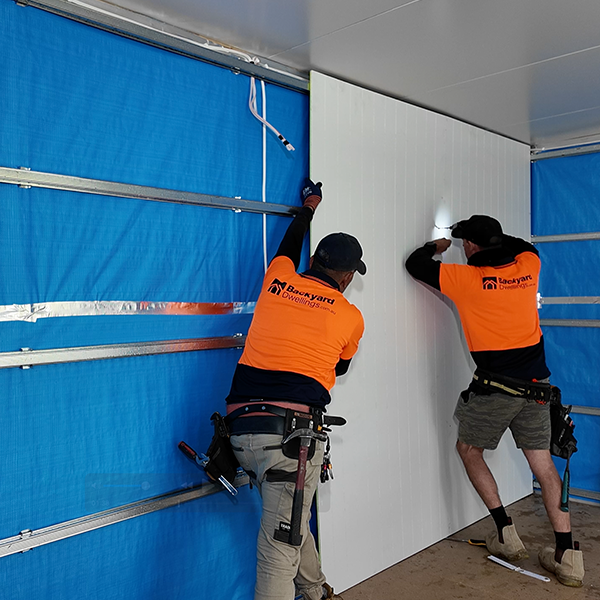
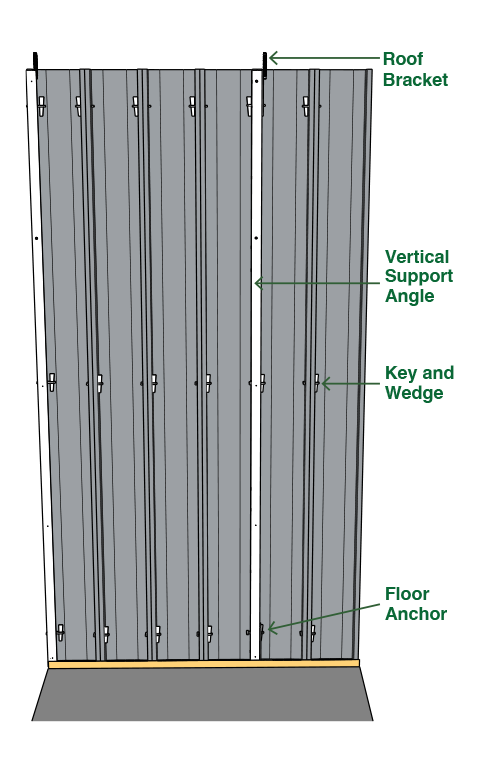
STEP 2
Installing U-Panel wall with key and wedge system secured by floor bracket including vertical angle support vertical angle support and roof bracket every 4 panels.
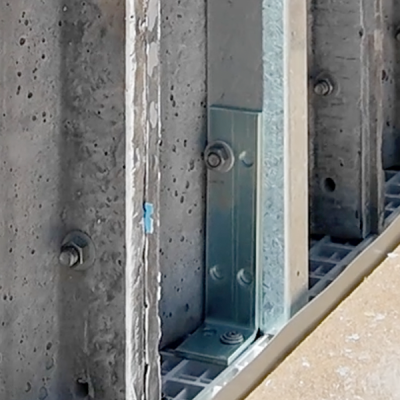
Floor Bracket.
Joining panel/walls to floor.
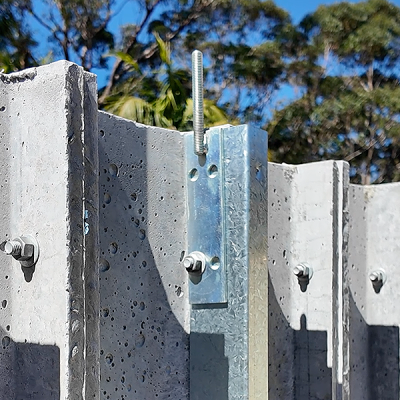
Roof Bracket.
Installed at every 4th Panel.
Used to join roof plate to walling system.
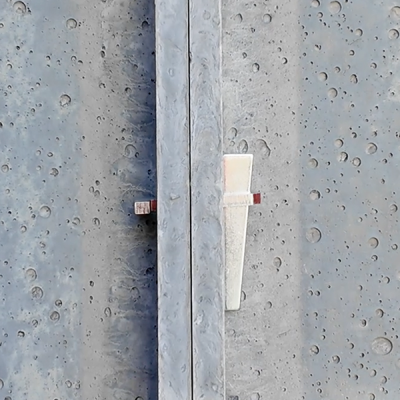
Key and Wedge.
Installed in every panel to join panels together by using just a hammer to tap in the wedge.
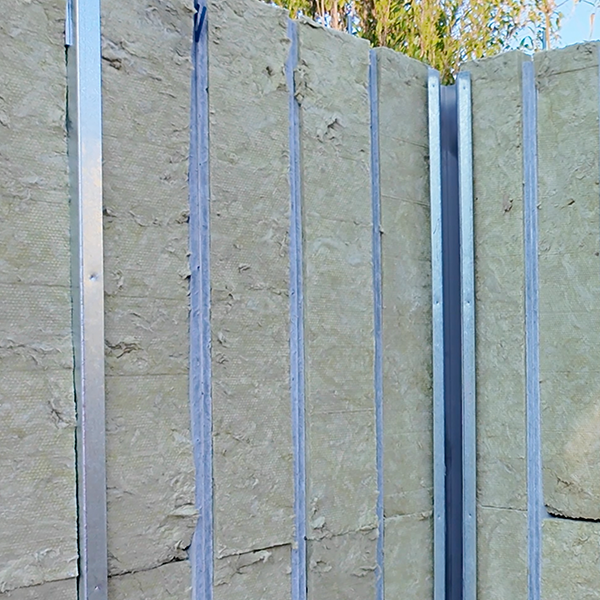
STEP 3
Install pre-cut rock wool insulation leaving vertical support angle exposed.
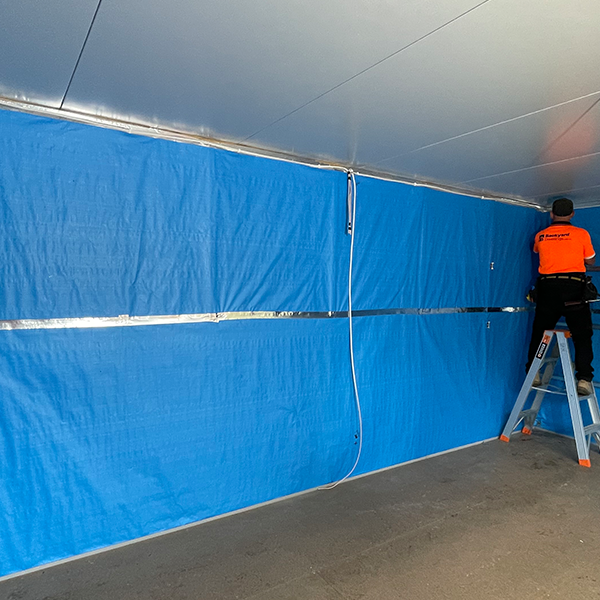
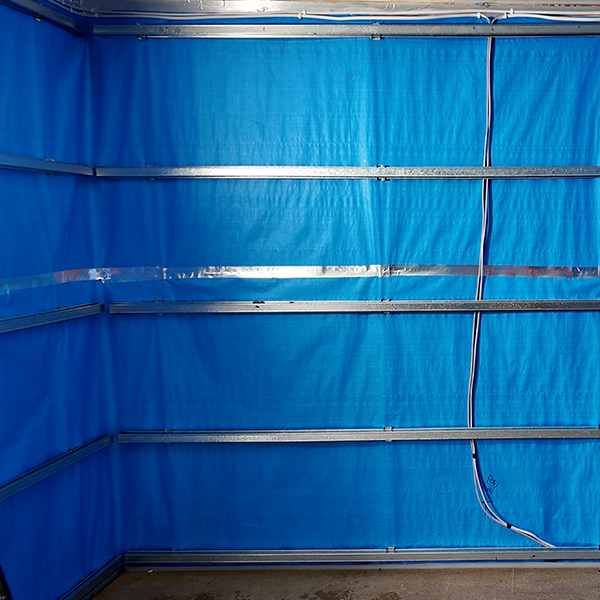
STEP 4
Install vapour barrier sheeting running horizontally and starting at the top first. Then bottom layer and seal joint with tape. Apply silver tape to seal top of cavity onto top edge of vapor barrier.
STEP 5
Screw in top hat brackets through the vapour paper into vertical support angle.

STEP 6
Attach top hat section into brackets.
STEP 7
Affix sheeting to top hats with preferred wall products. V-Groove board (MDF or Fibre Cement Sheeting).